How to Convert YouTube to AVI
Create an AVI copy of a readable YouTube video for a compatible player or video workflow. Use All Free YouTube Downloader on Windows 10/11 (64-bit), choose a video source, and select AVI output.
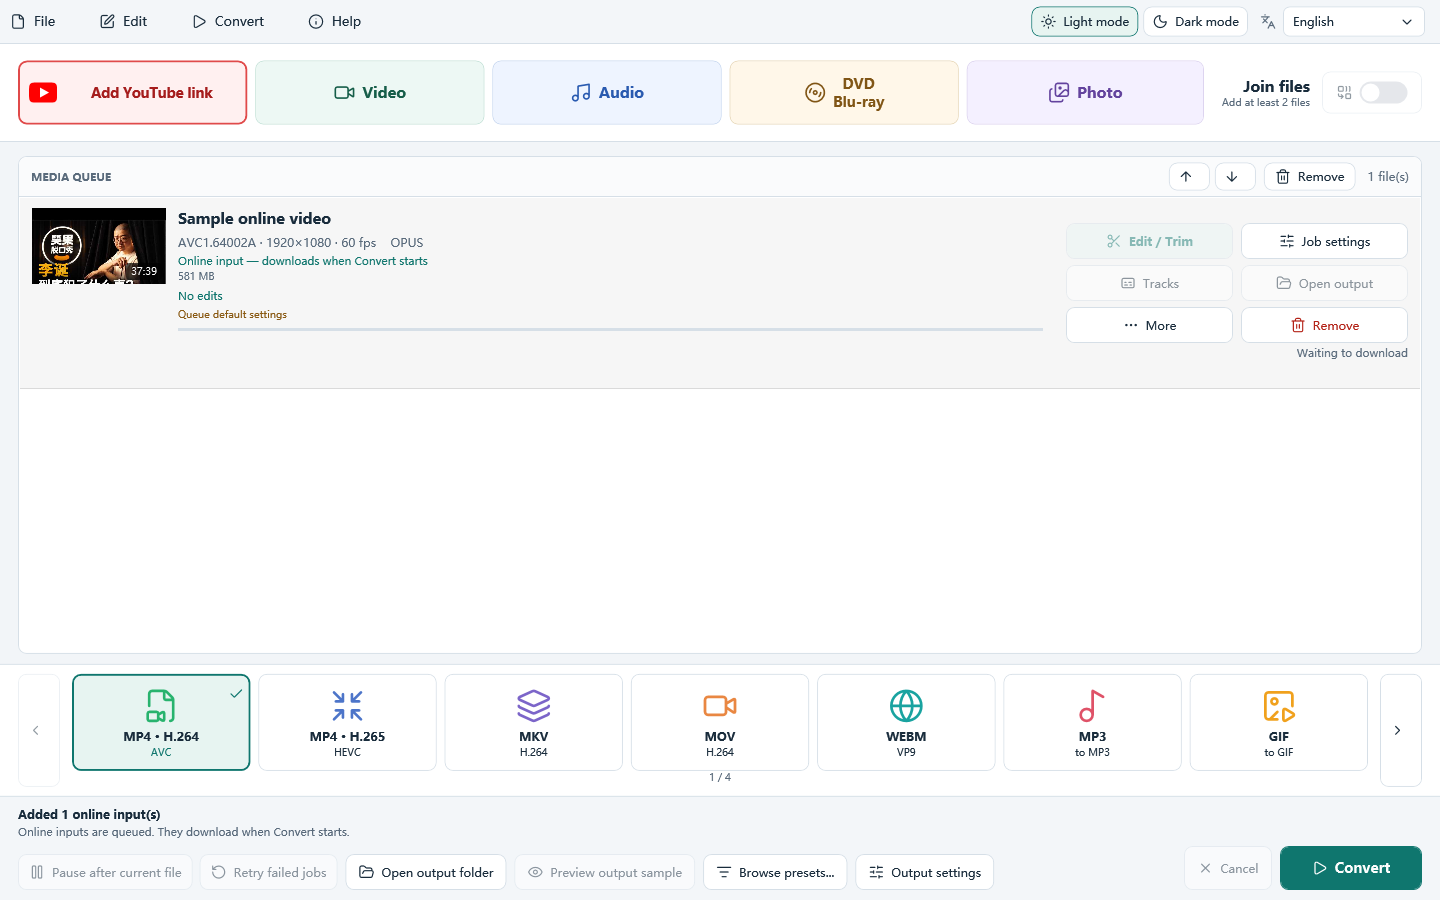
Do it in 3 steps
The screenshots are from the current program.
Install and add a YouTube link
Install All Free YouTube Downloader on Windows 10/11 (64-bit). Open it, click Add YouTube link, and paste a video link you are allowed to save.
Choose a readable video source
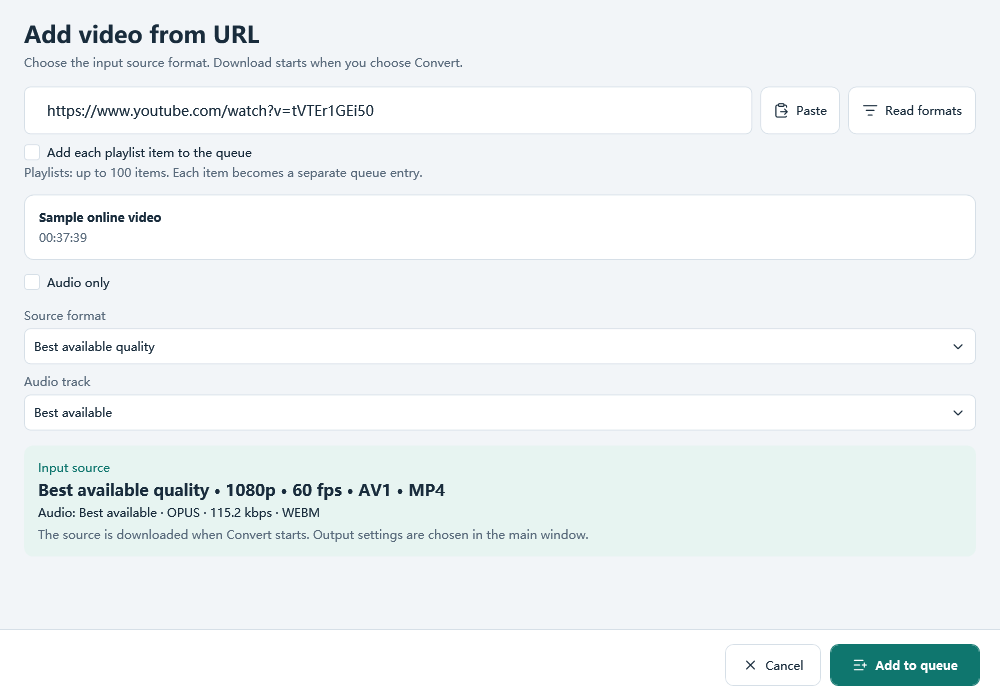
Keep Best available quality or choose another listed video source, then add it to the queue. The sources depend on the video and what the program can read. Do not choose audio only when you need a video file.
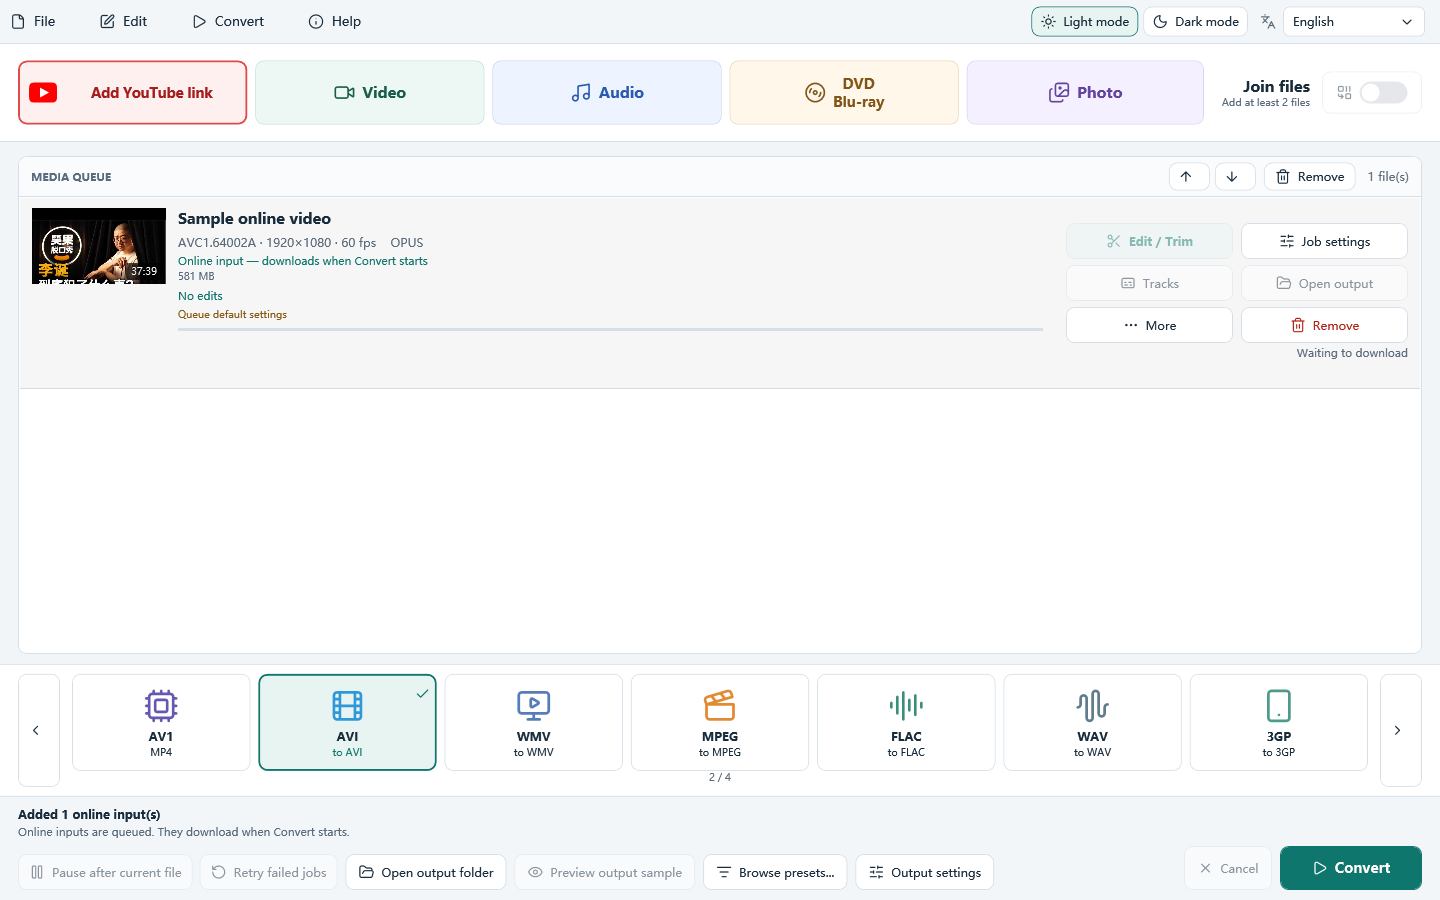
Choose AVI and click Convert
Select AVI on the main window and check the output settings and folder. Click Convert to download the selected source and create the AVI output. Source selection and output format are separate choices.
Download only videos you own or have permission to save, and follow YouTube’s Terms of Service. The program does not bypass DRM or other access controls. A public link works only when the download module can read it.
AVI output settings and playback checks
AVI for a player that asks for AVI
This program writes AVI with MPEG-4 video and MP3 audio. Check that the receiving player supports those codecs: AVI is a container, so support for another AVI file does not guarantee support for this one.
Balance quality and size
Begin with the source resolution and frame rate. Use average bitrate or target file size if the receiving system has a size limit. Raising resolution or bitrate cannot recover detail absent from the source.
Check the completed AVI
Play the output in the receiving player and check picture, sound and duration. This AVI uses MPEG-4 video and MP3 audio; it may differ from other AVI files you have used.
Before you convert the whole video
- Read formats finds nothing? Check that the link opens in your browser. Private, removed, restricted or unsupported links may not be readable. Try another video you are allowed to save; output settings cannot fix a source-reading error.
- Only audio is saved? Choose a listed video source rather than an audio-only source, then select the video output format on the main window.
- Conversion fails? Read the job’s error, check free disk space and the output folder, and try a short video first. Test an existing local file separately to distinguish a source download problem from a conversion problem.
Related guides
Download All Free YouTube Downloader
How to Convert YouTube to AVI